Understanding Apex Placement For Different Nail Shapes
What is the apex?
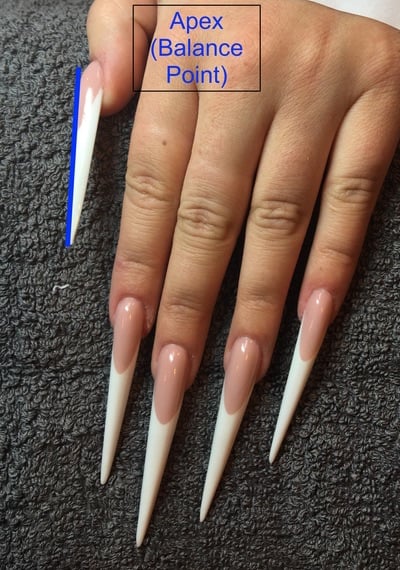
The apex should be the highest part of an enhancement, located at the weakest point and it is created to give the nail balance and strength. It should be visible from every angle but is most noticeable from the side view. The position of the apex varies in different shapes and lengths. In general, the apex will sit in the back 1/3 of the nail enhancement however the longer the enhancement, the higher and further back to the cuticle the apex is but not too far back so it creates an unsightly hump that will create no strength. If your apex placement is too far forward and your upper arch line is not straight, it will pull the free edge downward over the fingertip and create weakness.
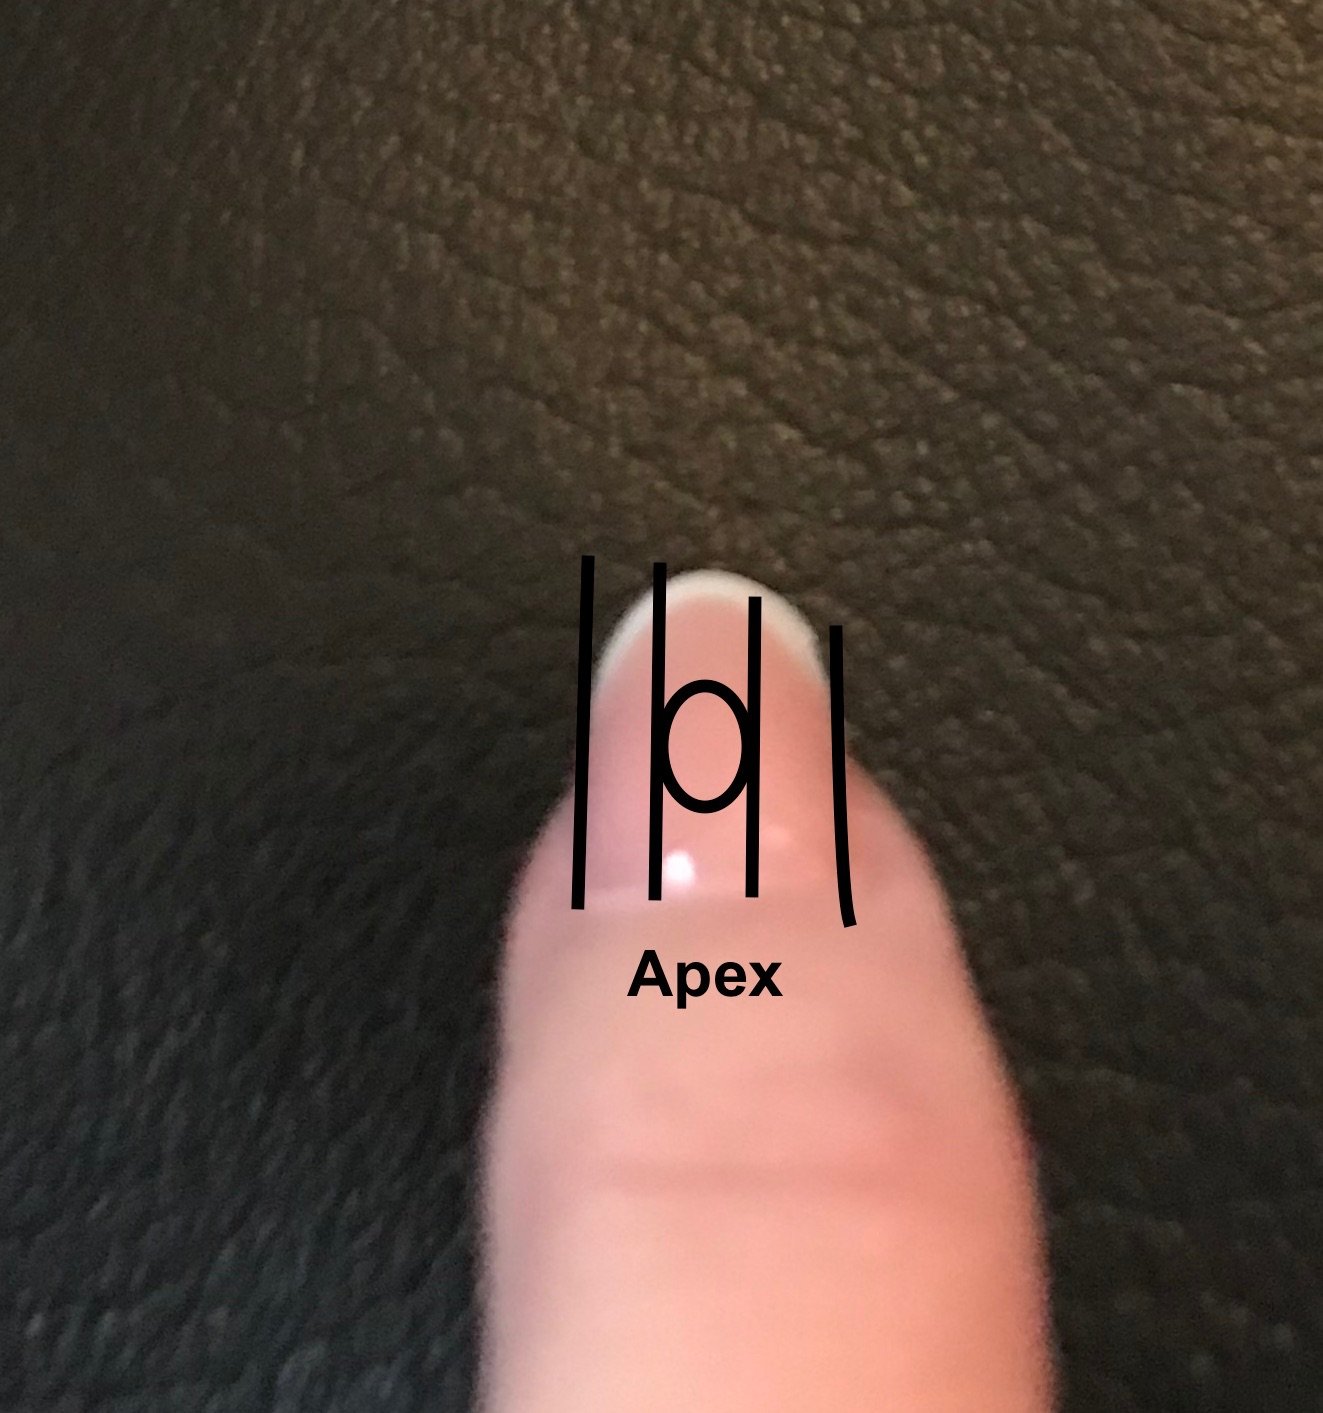
In shapes where the apex comes straight down from the highest point such as almond and stiletto, the apex is often known as the balance point. There can be confusion as to how wide the apex is, with many techs under the impression that it needs to run across the whole body of the nail from one sidewall to the other. However, the apex is just one point in the centre and does not run from side to side. Each side of the apex should be filed without comprising the sidewalls to ensure the sides of the enhancements body do not fan and bulk. It is important to ensure that your apex is central and doesn’t go to one side. To help identify this, hold the enhancement against something black such as towel or gloves and close one eye looking down the barrel of the nail.
Upper arches
The upper arch is determined by the apex and the two correspond to create a structurally sound and aesthetically pleasing enhancement. The highest part of the apex is the start of the upper arch. There’s an even, gradual ascend from the cuticle area to the apexand from the apex, the upper arch runs in a straight line to the free edge for a square shape, or downwards to the tip for a stiletto or almond shape.
Apex placement for different shapes
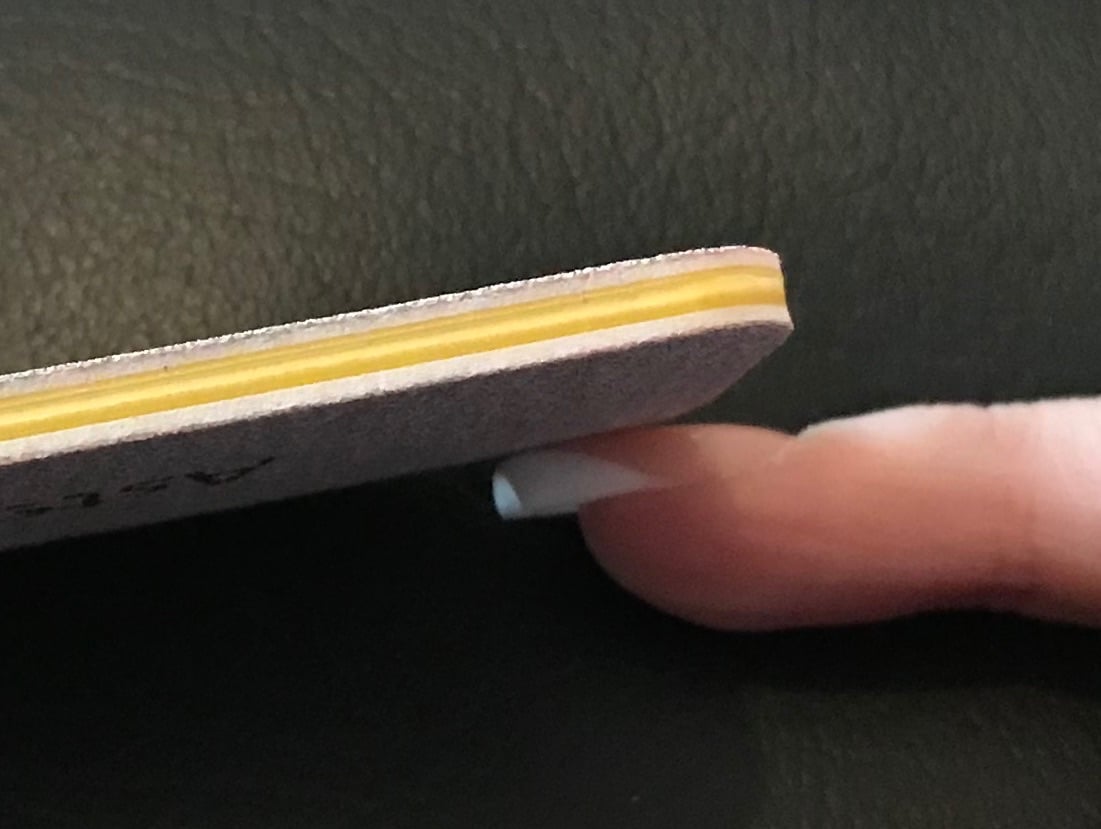
Square shape
Apex placement:Centre of the extended nail bed (the longer the enhancement the further back towards the cuticle the apex is)
Upper arch angle:Straight out from apex to free edge.
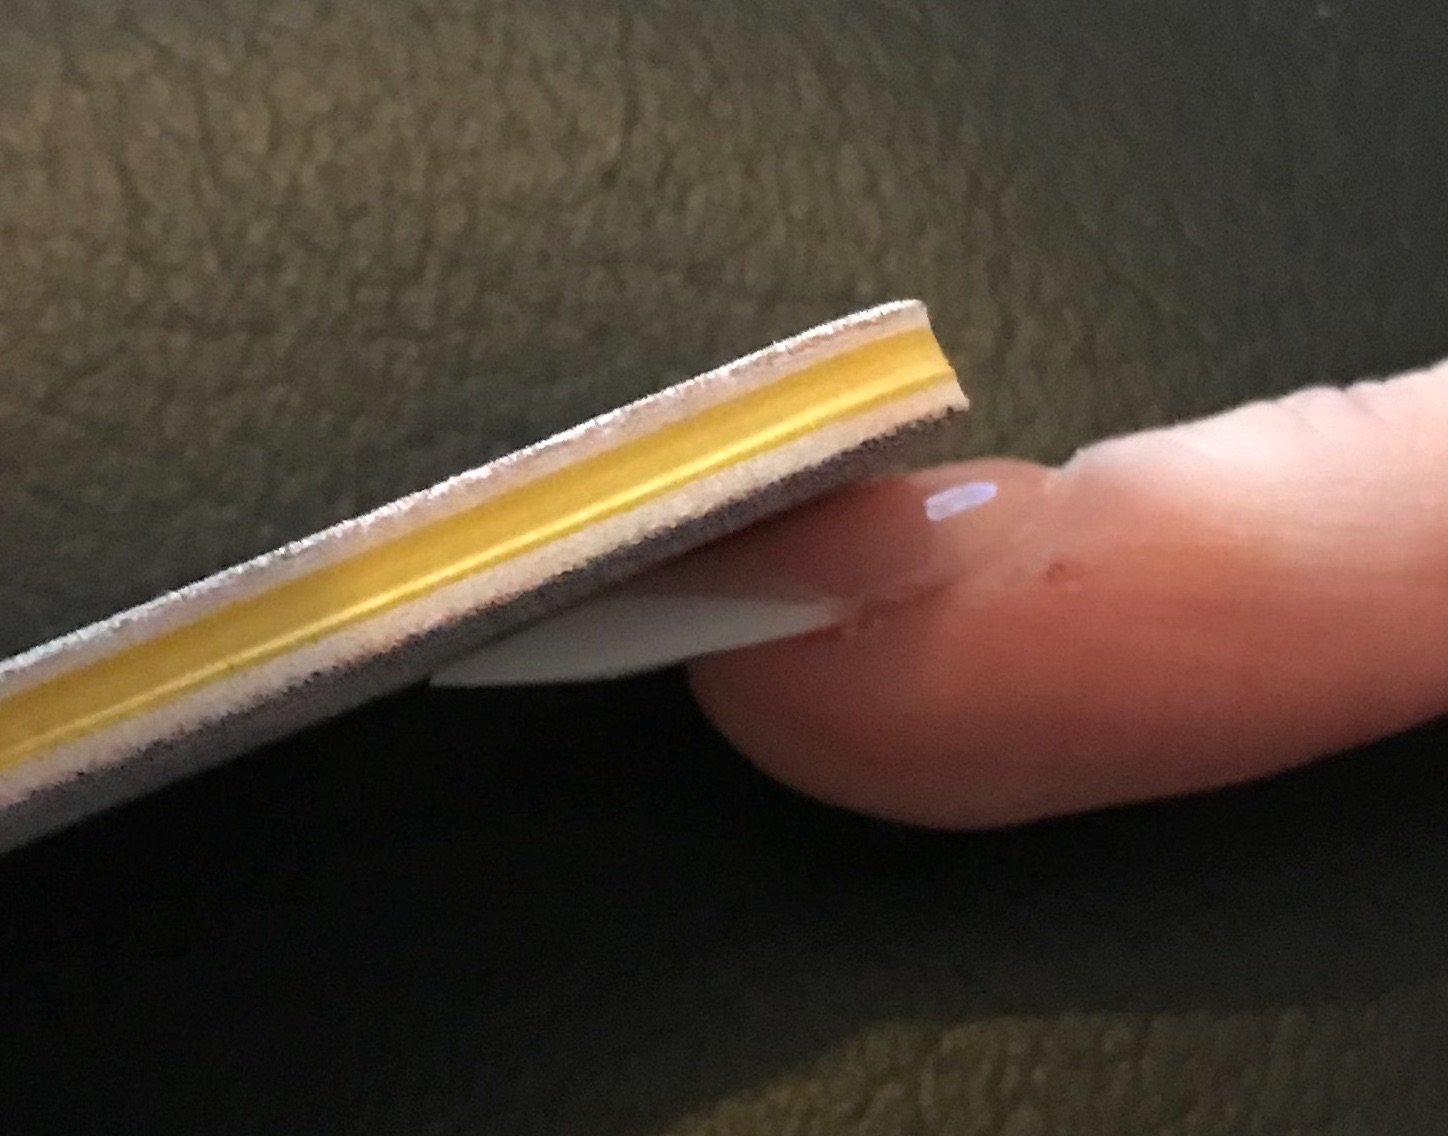
Almond/Stiletto shape
Apex placement:1/3 of enhancement
Upper arch angle:straight down from apex towards the free edge.
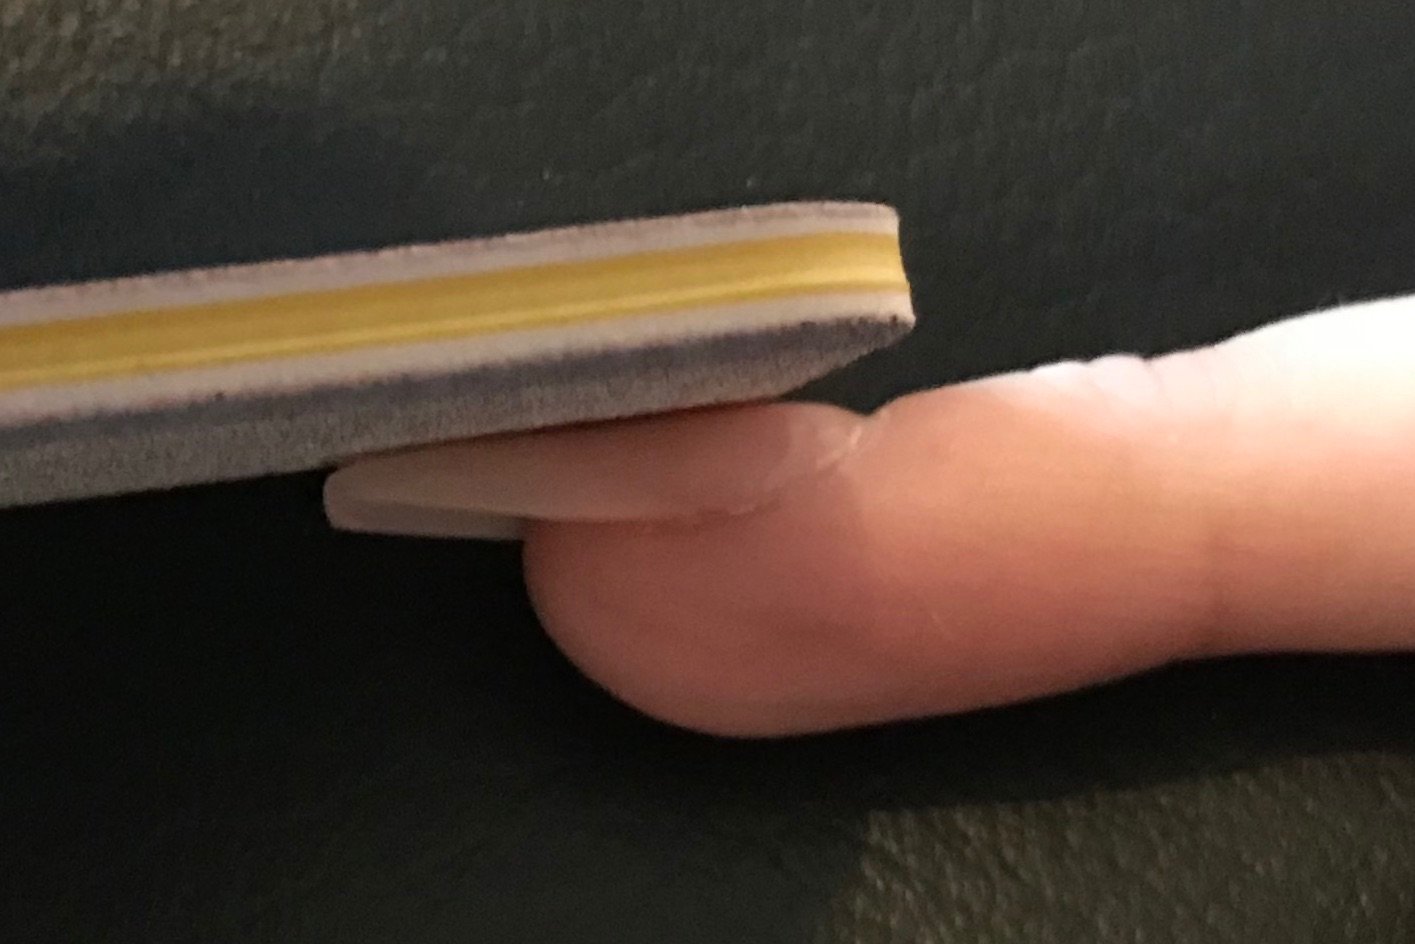
Ballerina/Tapered Square
Apex placement:1/3 of enhancement
Upper arch angle:Straight out from apex to free edge.
Russian almond, edge, gothic almond
Apex placement:1/3 of enhancement
Upper arch angle:Straight out from apex to free edge.
While nail enhancements are an enhancement of the natural nail and often extensions, the aim is still to create these to be as thin and natural-looking as possible while still ensuring longevity for the client.
When the enhancements are too thick, not only does this cause more stress on the natural nail but it makes the enhancement more prone to service breakdown such as lifting. Learn more about how thick nails should be here.
Love Katie B x


It’s amazing how difficult it is to find good visual information like this about nails. I appreciate information like this soooooo much I will be checking out the entire site =)
I found this very informative and has helped me understand the upper arches. I’m a visual learner and the diagram really helped me. Thankyou Katie x
Leave a comment