


How to improve your nail photos
Taking professional, clean looking nail photos is what can set you apart from your competitors and build your brand and portfolio. A great image will stop someone scrolling on social media and help them pay attention to your brand. The following aspects should all be considered when you are looking to create images:
1.Camera choice
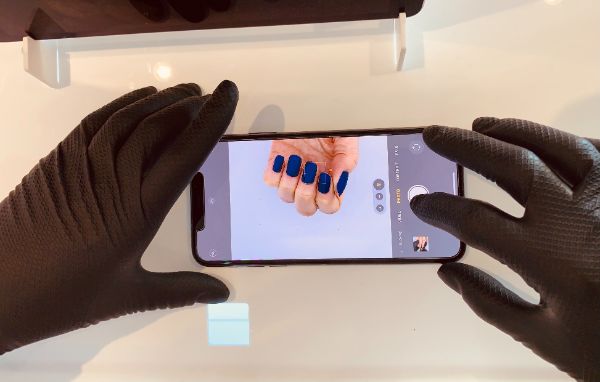
You will need to have a good camera. It isn’t necessary to hire a professional photographer for day to day nail images or use expensive professional camera equipment. You can create high quality photos with your smartphone.
Make sure you:
- Clean your phone lens.
- Use good positioning – as close as possible zoom function (without having to zoom your phone too much – no more than 2x as this can lose focus). You can crop later.
- Use the autofocus option by tapping your phone screen prior to taking the image.
- Don’t move too quickly as this can put the shot out of focus.
- Avoid using the flash function as it does not offer a flattering effect and will make the hand look flat and lifeless.
2.Lighting
To make sure your photos look professional, you must have the proper lighting. While natural light is always preferred, this is not usually possible.
Avoid fluorescent light and bright direct sunlight because it will result in harsh shadows that highlight imperfections and wrinkles.
If you’re taking photos in natural light, it’s better to do it in the shade where the light is more diffused.
Nails in natural light
It’s best to maintain control over the lighting rather than relying on the natural light that can cause shadows or change quickly. You want to choose white lights and not those with yellow hues, but how do you know what to look for?
LED light colour temperature is measured in Kelvin (K). Anything above 5000K is a cooler colour such as bright white and blues and below 5,000K gives a yellow, red tone. On this scale, daylight falls between 5,000K and 6,200K, so this is what you want to mimic with indoor lighting when taking photographs.
Ring lights can create circular lines of light on the nail, adding weight and bulk to the nails. Angle the ring light so that it creates either a nearly solid line or a very thin elongated oval for the highlights, versus the wide circle that it naturally generates.
Don’t use a ring light as your only source of light because it’s not bright enough. Use it with another light source like a window or lamp.
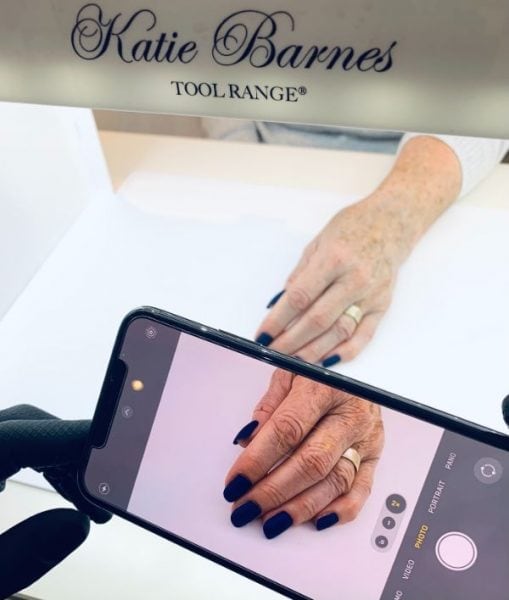
A photo captured in the KB Glow unit
Use more than one light source. By shining light on the nails from more than one direction, you eliminate a lot of shadowing which can make colours look dark or sparkles look dull.
Using a light box such as KB Glow will offer the most professional nail images with ease to prevent shadow. A light box diffuses light and gives your pictures a soft glow, as opposed to putting lamps directly above the hands.
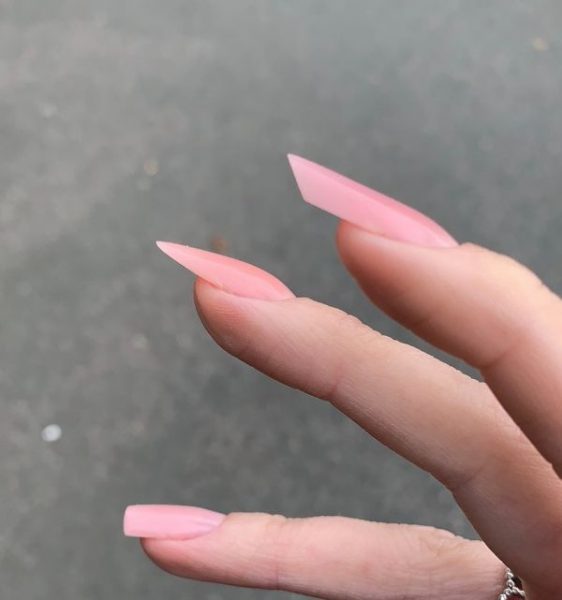
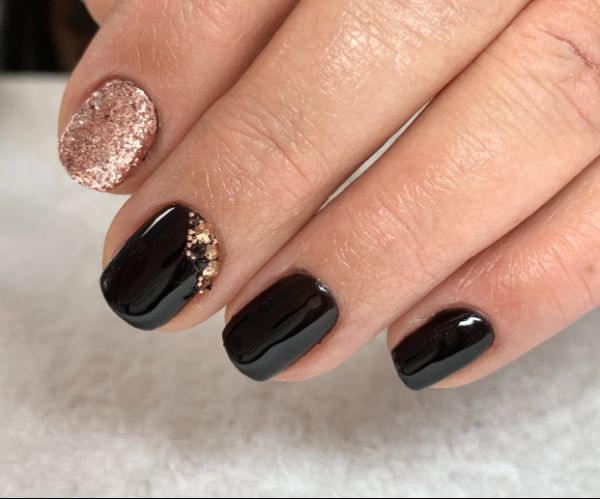
A flattering nail pose
3.Nail poses
Learn my top hand poses for your customers here.
4.Background
Keep it clean and simple – let your nails shine and be the focus. If you want to add a prop, keep the nails at the forefront, be mindful of hand poses and don’t crowd the image.
5.Editing
- Crop your image to make sure the nails are the focus and any background clutter is removed.
- Use your phone editor or Photoshop express on your phone.
- Make the image brighter and remove shadows by adjusting the lighting.
- Avoid the classic photo filters and instead use the manual sliders on your editing app to strike a balance between true to life and bright and focused.
- It doesn’t need to be some extensive manipulations, often all you need is to adjust exposure, brightness and saturation. If required, you can adjust colour balance to make the colours more accurate.
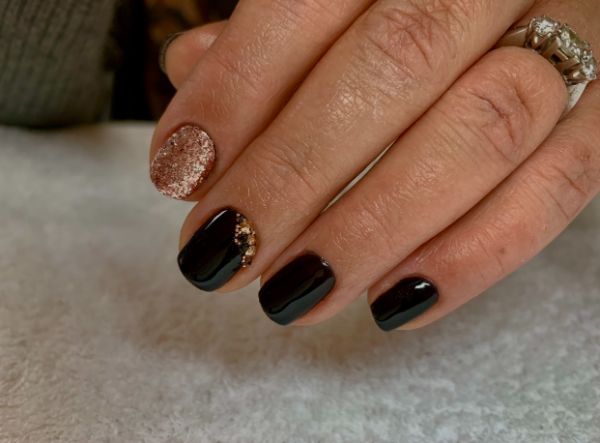
An unedited nail photo
An edited nail photo
Leave a comment