


How to file the lower arch and side walls without removing too much
One of the most common mistakes a tech can make is over filing the lower arch of the nail, especially if the form or tip fit was incorrect in the first place. Want to master your form fit? grab our free masterclass and guide here. Careful and controlled filing can help to prevent this.
The way you hold your file is important when filing all parts of the enhancement, including the natural sidewalls and lower arch. I always recommend leaving the lower arch until last in your routine to avoid over filing this. When filing the lower arch, always turn your client’s hand on its side and file carefully from this view so your eyes are always focused on the task in hand. Learn my top views and angles to check your nail enhancements from here.
Firstly, you must understand how to identify and calculate at what point the enhancement needs to be straight to make sure your filing of the lower arch is spot on. Make sure you are getting your form fit positioning correct here.
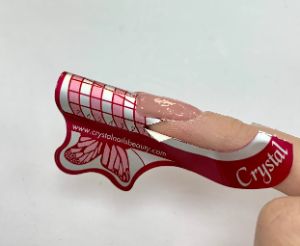
If using a tip, ideally select a tip with a lower arch where the fit is perfect. Tips that have a built in C-Curve can often provide a better lower arch. Avoid tips where this is already missing as you will not be able to correct this. If you find the tip digs in or putting pressure onto the skin at the end of the finger, then you need to remove some of the lower arch of the tip when filing. Learn more about selecting the right tip fit here.
Step 1: Create the lower arch marginally lower (around 1mm) than usual to provide room for corrections. What we see and what is there can be different. If we guess on a straight line, it may in-fact not be. Once you have created the enhancement, it is then too late if the lower arch is missing product. It can then be tempting to file this even more to try and fix it. This will just create a weakness.
Step 2: Work out where needs to be filed. Draw this with a pencil using a ruler and a pencil or pen for precision.
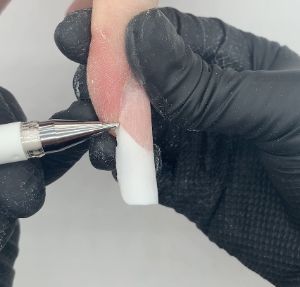
Step 3: Tuck your file into the corner. Hold this at an angle from the corner point where the natural nail ends to the end corner point of the nail enhancement. When holding the nail file, to ensure the file moves straight and does not flex, support the file from behind with 1-2 fingers.
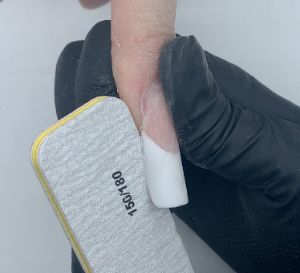
Step 4: File back and forth just once or twice. Remove the dust. Check. Repeat if necessary.
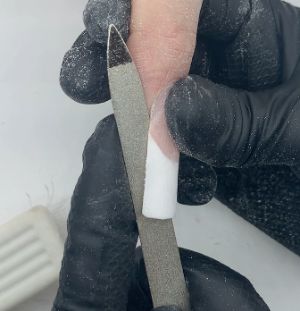
Step 5: Use a metal nail file, using the same techniques. Being so thin, you are able to tuck this right under. Make sure to support even more due to the flex of a metal nail file.
When filing the lower arch, always keep away from the natural side wall – this a habit that techs can pick up and can affect the result of a straight and strong lower arch.
Follow this video tutorial on how to file the lower arch.
Just a small correction to your lower arch can be the difference between a bulky looking enhancement and a slim, well placed enhancement that looks natural and is strong.
Leave a comment