


How to improve your acrylic or gel smile lines
A crisp, neat smile line that flatters the client’s nail and creates an elongated look can really set your work apart from other nail techs in both salon and competition work. However, achieving this perfect smile line can worry many techs and make them avoid offering this option altogether.
The most important thing when creating a smile line is to make sure that it is perfectly symmetrical if you were to cut it in half so that the sides are just as high on each side.
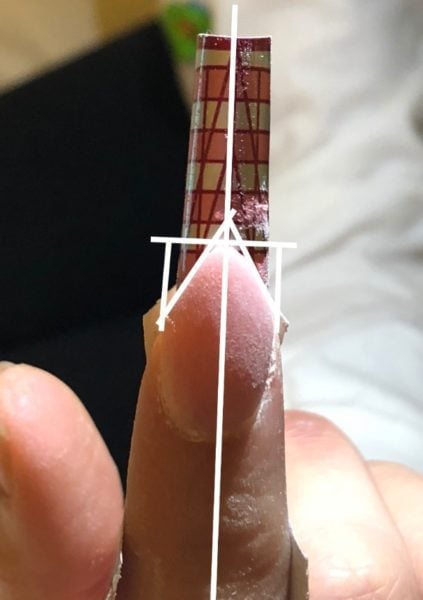
The best way to ensure that you achieve this is to check it from both yours – and the client’s – point of view when shaping the product and filing the smile line.
Keep turning the client’s hand to check.
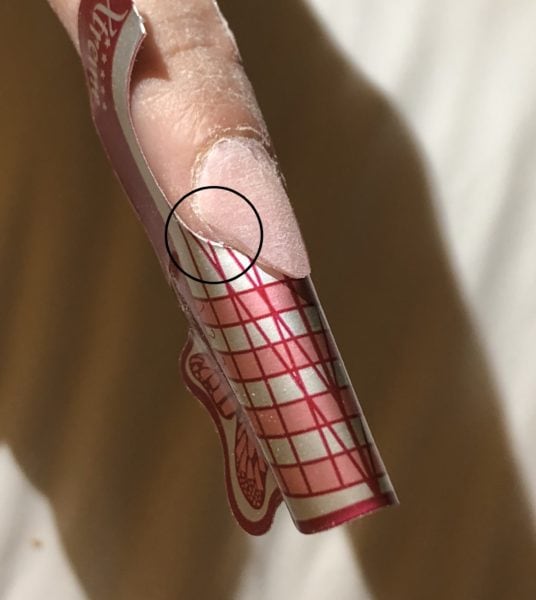
< If you look at the image and the grid I have created over the pink, you can see the centre point is correct, as are the corners, but the right-hand side curves ever so slightly more than the left, losing the symmetry.
While this marginal difference may not seem much to worry about, it would be quite apparent on the enhancement and the whole enhancement would look unbalanced.
This difference would be difficult to see from the tech’s view.
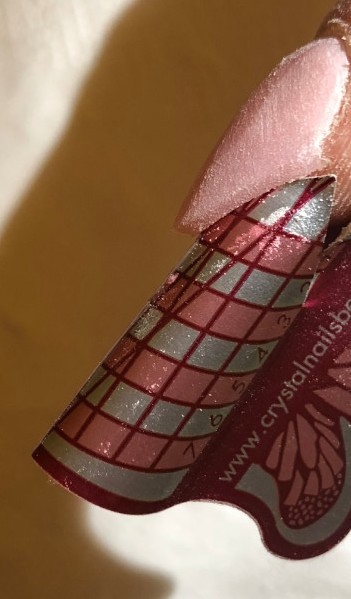 When building the wall of your pink product, it is essential to make sure the wall is high enough to file.
If this is too flat, it will make it difficult to file crisply. For an even crisper smile, angle the highest point of the pink slightly. >
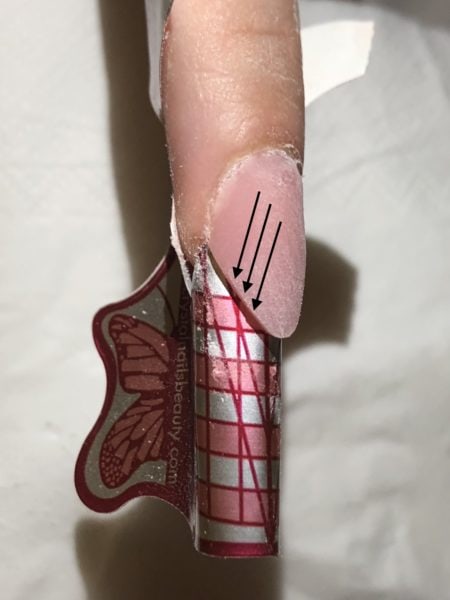 < If you have built the pink too high, you can file this down. If you file the product from the sides and over the smile line at the flat angle, this will also make it crisper.
When fitting a tip or form, reduce the length of the natural nail to a rounded shape prior to creating your smile line shape. If the natural nail corners are poking out, this will affect the crispness of your smile line shape.
If you are filing your smile line, it can be helpful to apply a very thin – almost transparent – layer of clear in the shape of the nail you are creating to allow you to file the smile line without moving the form.
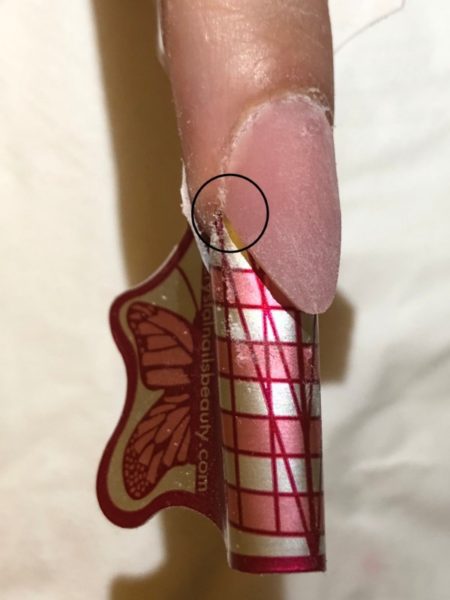
Many techs create a beautiful and crisp smile line but neglect the corner points on the smile line. These must be parallel on both sides.
When sculpting your pink product, start at the free edge and walk the product side to side to the corners first, then pull out highest point. Make sure that the corners are fully covered with product by bringing the pink out slightly and not missing product. Ensure that the wall thickness is exactly the same around the whole wall, including the corners. This will create your crispest and the most parallel corners and stop your free edge colour going over the corners.
Product brought out
Incorrect corner
If corners are an issue and you are not happy with the outcome of your product application, you can file your smile line.
It is important to use a brand new file when filing a smile line, otherwise the grit will have been worn away in some areas, giving your wall an inconsistent thickness.
You can hold your file flat to get into the corners, use a metal file or an electric file to create crisp corner points. If using an electric file, always go over again with a file to smooth over.
Leave a comment