


How thick should your nails be?
While nail enhancements are an enhancement of the natural nail and often extensions, the aim is still to create these to be as thin and natural-looking as possible while still ensuring longevity for the client.
When the enhancements are too thick, not only does this cause more stress on the natural nail but it makes the enhancement more prone to service breakdown such as lifting. Learn more about dealing with lifting and service breakdown here.
As a comfort blanket, many techs apply too much product across the whole surface of the enhancement and rely on filing to remove this. It is a waste of time and product to apply excess product only to remove it straight away, any waste of time and products is also a waste of money. Refine your filing routine here.
The one part on the whole enhancement that should be the highest is the apex. If this can’t be seen over the bulk of product on the rest of the nail or somewhere else is higher, then there is too much product on these areas. To understand apex placement click here.
The thickness should also be evenly distributed throughout the enhancement, which can be mastered by controlling the filing technique. To be sure, I recommend using a Thickness Measuring Tool, especially if the nails are being judged in a comp.
A salon wearable nail should be the thickness of credit card at the free edge (approximately .03 inches). Competition nails should be the thickness of a business card at the free edge (approximately .01 to .03 inches).
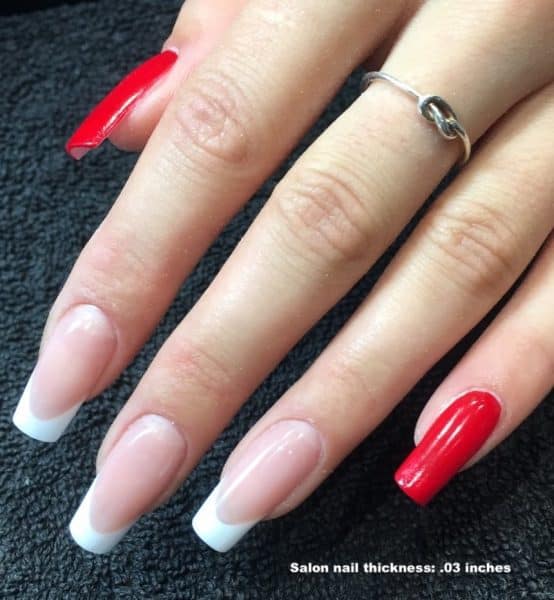
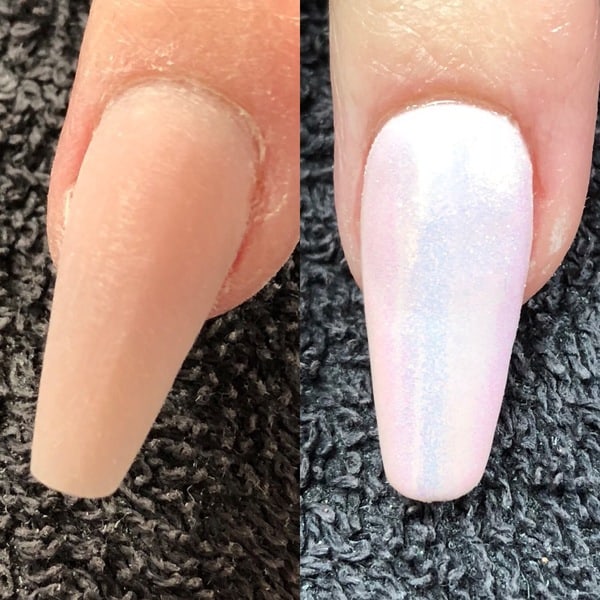
Salon nail thickness
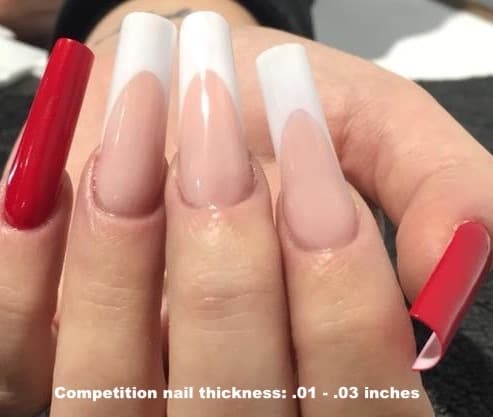
Competition nail thickness
With proper structure, combining all the elements of correct form or tip fit, apex; side walls, lower and upper arch and c-curve can be easily achieved. Without this, additional product will need to be added and more stress added to the nail.
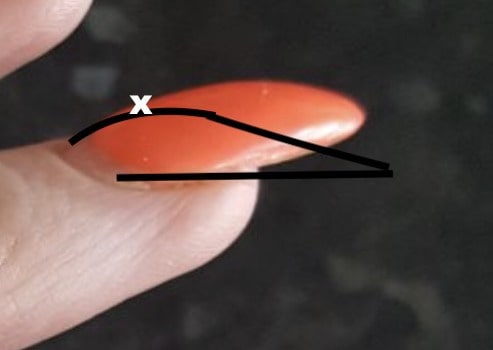
The apex doesn’t need to be a large mound; around twice as thick as at the free edge is enough for a salon wearable nail. From the cuticle to apex should just be a gradual incline, with the upper arch coming out in a straight line to the free edge and not a steep step. Only the angle of this upper arch changes with shape and length. There should be no curved upper arches as this curve is product that is not needed. It is important to remember that the apex is a just a point, not a band and doesn’t run from one side to the other, otherwise the nails will look ‘pregnant’ instead of slim. You can achieve this by ensuring your convex and concave are the same thickness and sticking to the rule of the apex only being a point.
When creating enhancements, you must think about the balance point. The thicker something is, especially at the end, the more pressure is put upon it and therefore a weakness is more likely to form. The gravity and weight will pull this down. Think of a see-saw. Place a person on the end of this and the pressure causes this to dip. Nails are not designed to take this constant pressure and will likely cause a break and put unnecessary stress on the natural nail.
Be aware when applying gel polish or a design on top of an enhancement of how many additional layers you will be applying. This will naturally make the enhancement thicker, so must be taken into consideration when filing the enhancement and take this marginally thinner than usual to compensate for the additional layers. Learn more about perfecting your gel polish application with our gel polish troubleshooting guide here.
This unnecessary bulk can also appear when it’s time for the infill appointment. Many techs do not remove enough product and then reapply, doubling the thickness of the enhancement.
Let me know in the comments if you found this helpful.
Thank you for another precious guide ✨👌🏻
Thank you. Useful & informative.
Thank you, great information 😃
Leave a comment