

Best Angle To Look At Nail Enhancements
Do you ever spend a long time creating a beautiful set of nails, only to realise that they don’t look quite right once you’ve finished, but you can’t work out why?
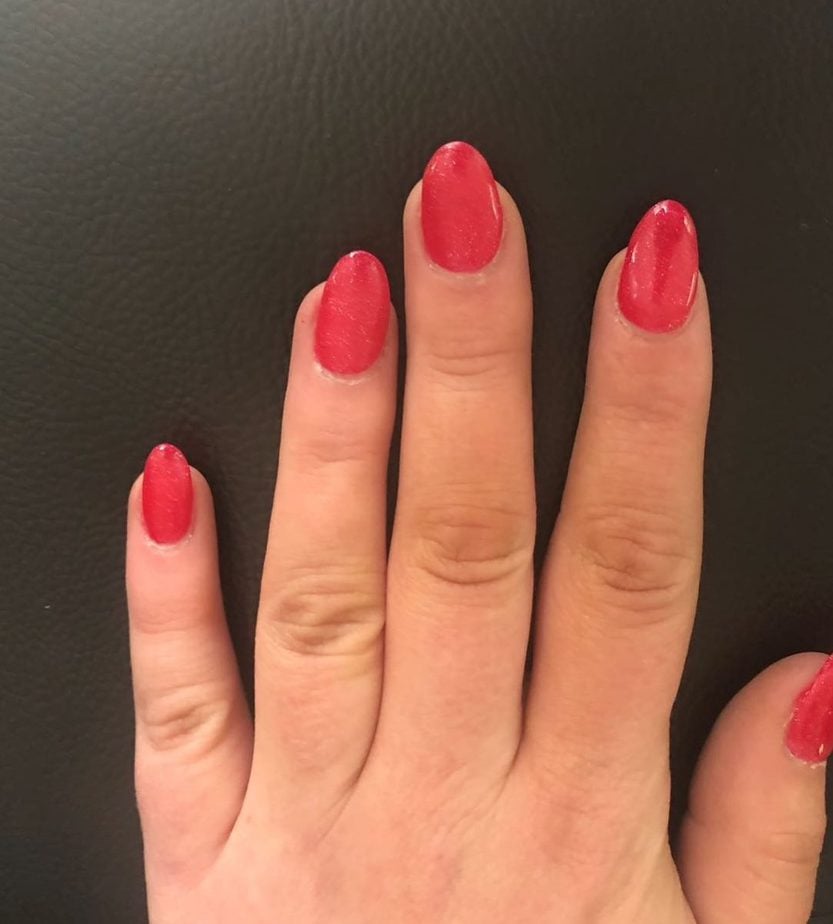
Do you get the client to hold their hand up to check the free edge shape at the end of the service?
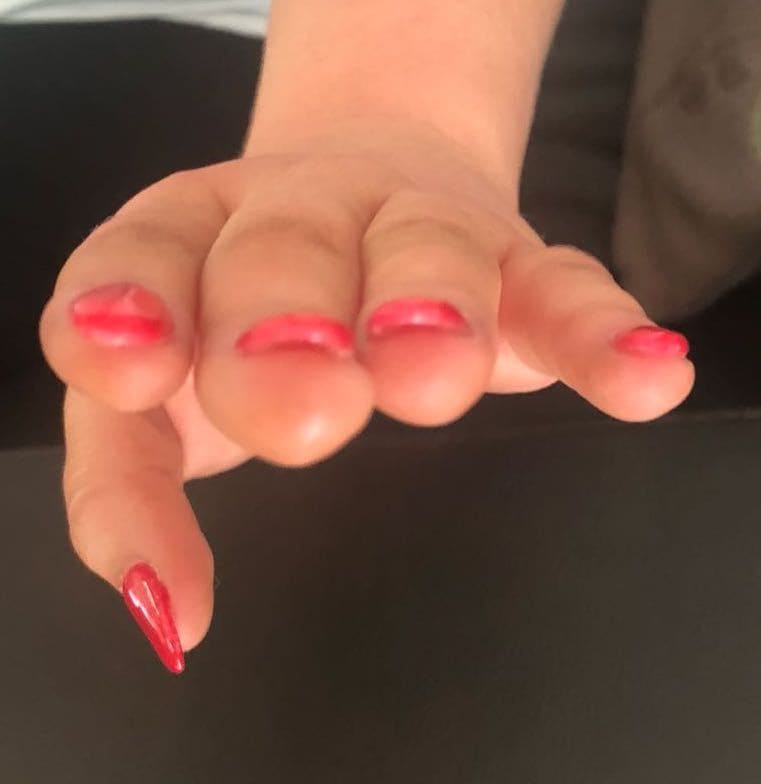
There is one very important angle to look from, that you are likely to be missing when you check the final enhancement: the client’s perspective.
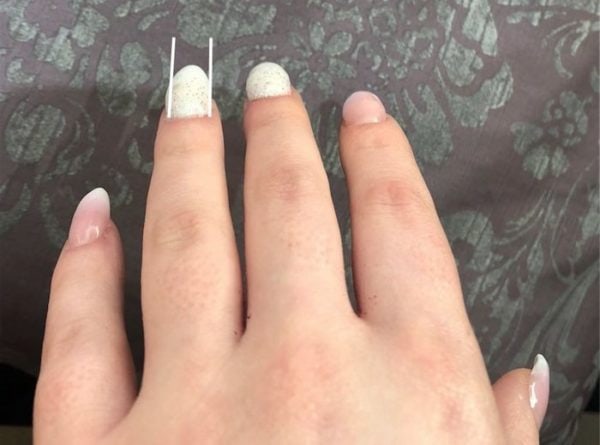
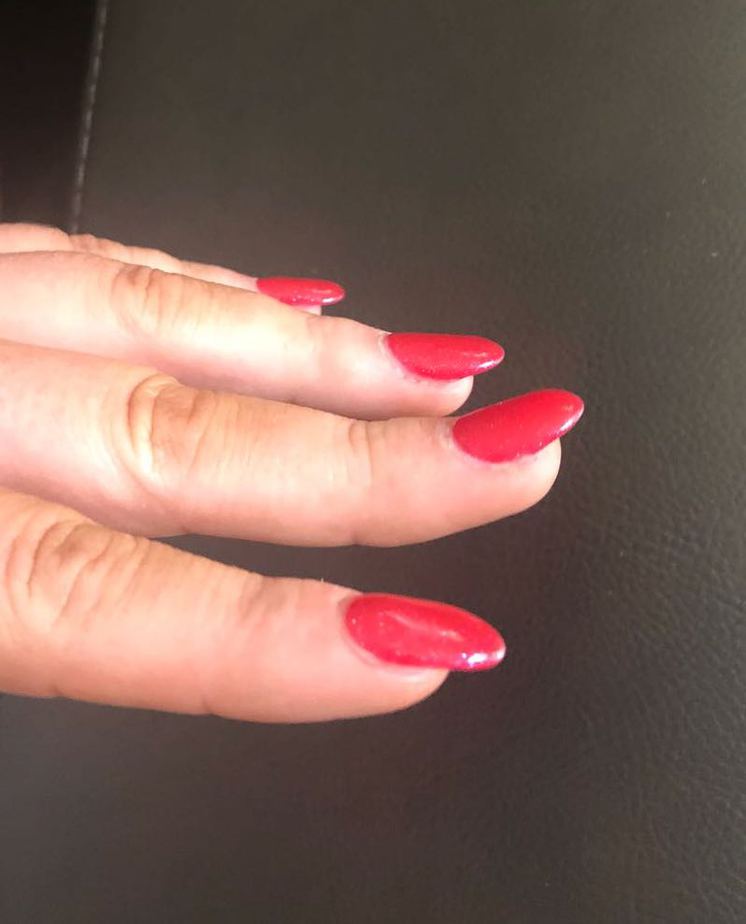
After checking the free edge shape with the client’s hand facing you upright, bend the fingers down back towards the client and look down the barrel from the back of the enhancement. This will allow you to see if the convex is a perfect tunnel the whole way to the free edge.
If you look down this and there is an uneven surface or a bulge at either side of the apex, then the bulk needs refining. You can either refine this from this position or turn the hand back round toward you if you find it easier. If you cannot remember where needed refining when you turn the hand back round, then make a small mark with a pencil. The refining with a file or buffer will remove this.
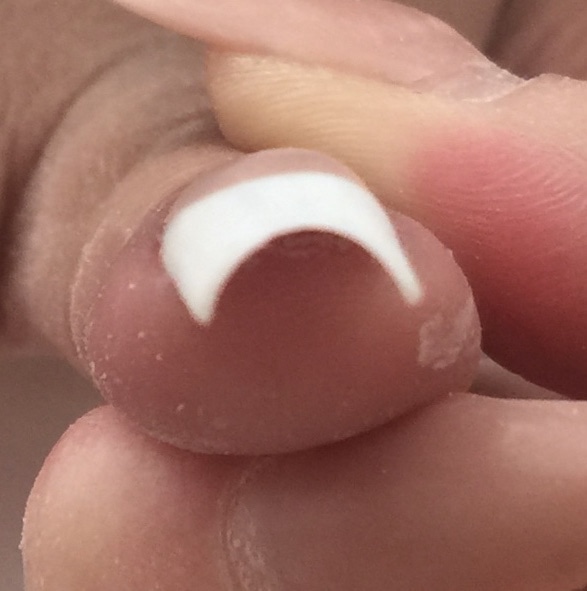
When checking the nail from the barrel view, it is helpful to hold the enhancement against a contrasting colour (if you’re creating a pink & white enhancement, hold this against a black background), close one eye and look down the barrel. You will see if the enhancement appears higher on one side than another. You will often find this is the case, for your dominant working side, where you will likely be heavier handed with application.
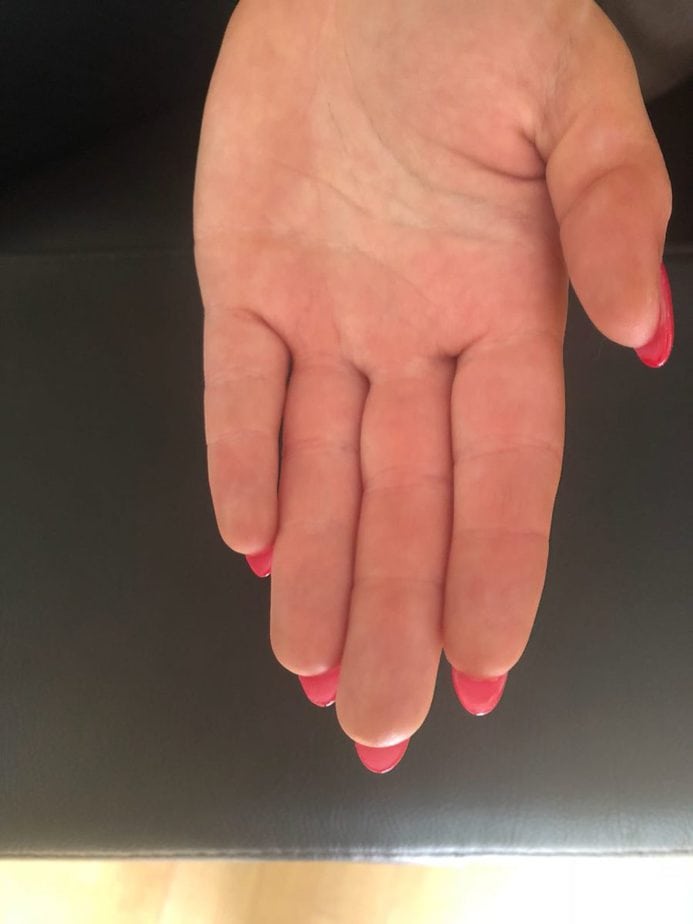
This client perspective view will also help you check if your apex height is correct. From this angle, you will see if there is a just a gradual and even slope to the apex or if it leans to one side more than the other and you can’t see the apex over this slope. If you can’t see the apex point over this slope, the cuticle zone has too much product and needs removing. Check this view from both sides – the smile line and your upper arch should be central.
Make a habit of checking the nail from different angles when checking the shaping and bulk of the enhancement. Consistent and constant use of these steps can eventually train your eye to see ‘most’ common and obvious flaws from just one or two angles of these:
- Usual filing view (this will give an overall picture of the enhancement)
- Side view (you can check side walls, form or tip fit, apex and upper and lower arches)
- Down the barrel (you can check the C-Curve shape and thickness as well as convex and concave)
- Straight on (you can check the free edge shape and side walls)
- Backside (this will allow you to check form or tip fit and sidewall thickness and consistency)
-
Client’s perspective (this will give an overall picture of the enhancement, including convex and concave consistency)
What is the convex and concave?
The convex is the exterior curve of the nail enhancement. The concave is the interior curve or ‘the tunnel’ of the nail enhancement. The convex and concave should be identical and symmetrical through the entire length of the nail.
Checking your enhancements from this angle will help you perfect those finishing touches and spot imperfections that may not be obvious from the usual angles. Just a couple of swipes of a file or buffer may be all it takes. While this is important in helping refine your salon nails, it is paramount for consistency in competition nails.
Want to learn about how thick nails really should be for the best longevity? Do they need to be thick to last or can they really last when they are thin like a business card? Check out our next blog.
Love Katie B x
Leave a comment